 Phantom Pack Lab
How to Add an Overlay in OBS
Never added an overlay before? You're about ten minutes from a stream that looks like a studio. This guide uses a free Phantom Pack Lab pack, so you can follow along without spending a cent — no Photoshop, no code, no folder full of loose files.
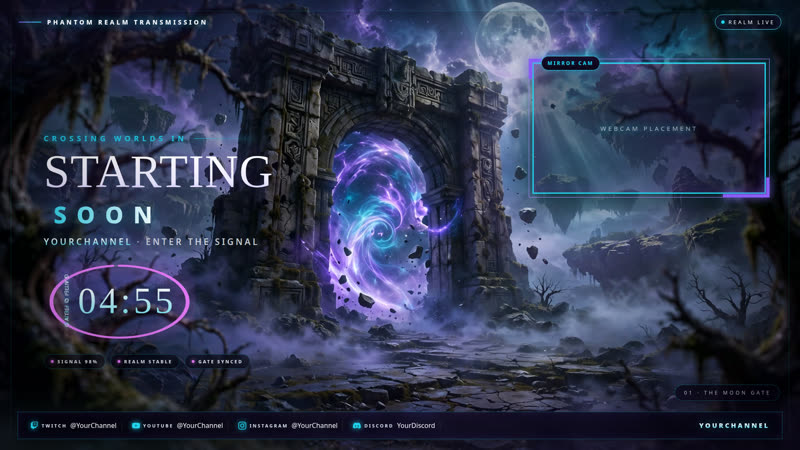
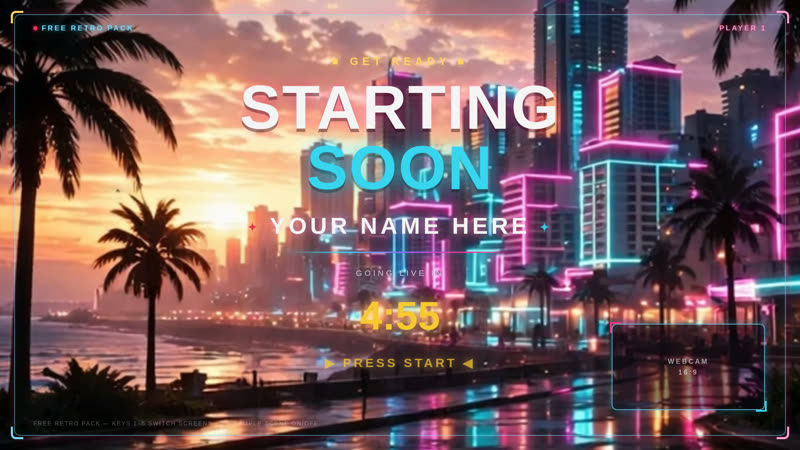
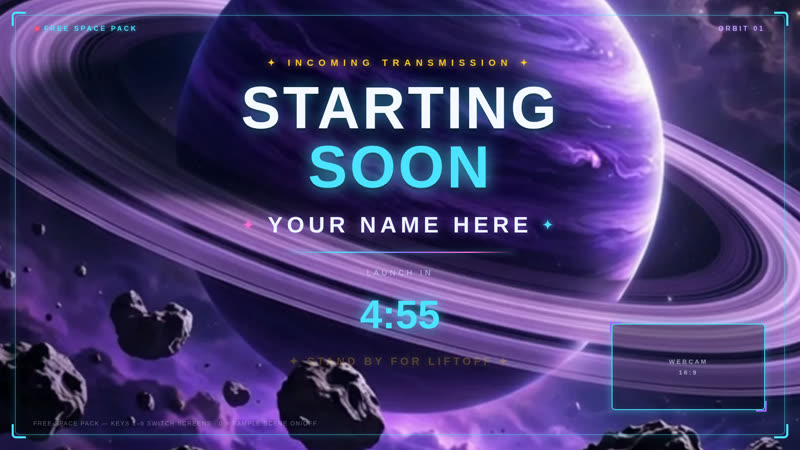
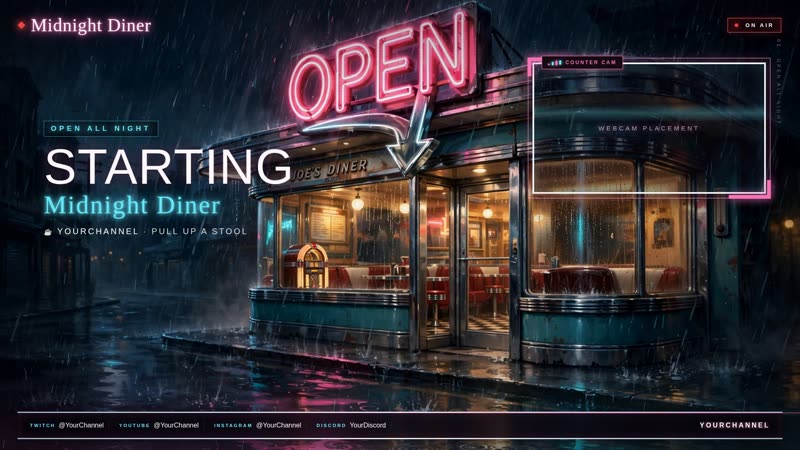
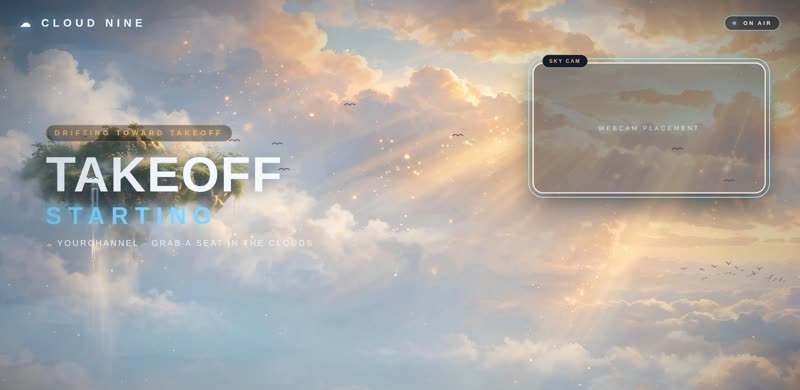
Download a free overlay pack
Pick a pack you like the look of — there are 10 free packs in the Lab, and every one works exactly the same way. Download it from the shop and unzip the file if it arrives as a zip.
Here's the part that surprises people: inside is one single HTML file. That one file is the whole pack — Starting Soon, Be Right Back, Gameplay, Just Chatting, Ending, alerts and a chat box, all animated, all in the same art style.
Add the pack in OBS
The easy way — let the free app do it. Download the free Phantom Overlay app, import your pack file (your first import becomes your default automatically), then hit “Set up my OBS for me.” The app connects to OBS and walks you through the rest, and it keeps your scenes, goals and alerts in one panel while you stream. Keep the app open (the system tray is fine) whenever you're live.
Prefer to do it by hand? In OBS, click a scene (start with Starting Soon). Under Sources, click + → Browser Source → name it and click OK. Tick Local file, click Browse, and choose the pack's HTML file. Set Width 1920 and Height 1080, then OK. The overlay appears on that scene, full-screen.
Make it yours
Click the overlay in OBS so it's showing, then press H — every pack has a built-in setup panel. In there you can:
- Type your channel name and tagline
- Pick your accent colors
- Add your social links
- Set how long the Starting Soon countdown runs
- Choose a webcam frame style
Changes show live, and your settings are remembered — set it once and it stays.
Add it to every scene — then check each one
One thing every beginner trips on: an OBS source only exists in the scene you added it to. Your overlay needs a copy in every scene:
- Starting Soon
- Gameplay
- Just Chatting
- Be Right Back
- Stream Ending
For scenes after the first, use + → Browser Source → Add Existing and pick the source you already made (if you used the app, it guides you through this). Then click through your scenes one by one: the right screen should show on each, your webcam should sit inside its frame, and a test alert should pop. Two minutes of checking now saves an awkward mid-stream fix later.
Fix the usual hiccups
- Black screen? The Local file path is wrong or the file moved — re-browse to it.
- Overlay too small or cropped? Set the Browser Source to 1920 × 1080.
- Showing on one scene but not another? It needs adding to that scene too (Step 4).
- PC fans spinning up? Every pack has a one-click Motion off switch for weaker PCs.
- Using the app and nothing moves? Keep the app open while you stream — it drives the live scene switching.
That's it — you're set up. When you're ready for more, the full pack library has mid and premium packs with more screens, and they all install exactly the way you just learned.
Skip the manual steps — run it from the app
The free Phantom Overlay app imports your packs and sets up your OBS scenes for you — live scene control, goals and alerts from one panel.
Get the Free Phantom Overlay AppFree beta for Windows · auto-updates included · works with OBS Studio